Home | Services | SeniorTub Installation

Senior Tub Installation

Ensure safety and comfort with senior tub installation by TRG Bath Renovations. Expert solutions for accessible and functional bathroom spaces.

Home | Services | SeniorTub Installation

Senior Tub Installation

Ensure safety and comfort with senior tub installation by TRG Bath Renovations. Expert solutions for accessible and functional bathroom spaces.

We've Reimagined the Home Renovation Experience

Senior tub installation, also known as a walk-in tub installation, involves adding a specialized bathtub designed for seniors or individuals with limited mobility. These tubs have a door that opens, allowing for easy entry and exit without the need to step over a high wall. Here is a description of the process:

01

Assessment and Planning

Begin by assessing the needs and requirements of the senior who will be using the tub. Consider factors such as mobility limitations, safety features needed (such as grab bars or anti-slip surfaces), and any specific preferences or medical considerations.

02

Removing the Existing Tub (if applicable)

If there is an existing bathtub that needs to be replaced, it will need to be removed following the steps outlined in a regular tub removal. This involves disconnecting plumbing fixtures, removing surrounding tiles or wall panels, and physically extracting the tub.

03

Plumbing Modifications

Ensure the plumbing is adjusted to accommodate the walk-in tub. This may involve rerouting water supply lines, adjusting the drain position, and making any necessary changes to the plumbing connections.

04

Preparing the Area

Prepare the space where the walk-in tub will be installed. This may involve repairing or reinforcing the subflooring, addressing any plumbing or electrical issues, and applying waterproofing measures as necessary.

05

Walk-In Tub Installation

Carefully position the walk-in tub in the designated space. Ensure it is level and securely anchored to the floor. Follow the manufacturer's instructions for proper installation, which may involve attaching adjustable feet or brackets.

06

Plumbing Connections

Connect the plumbing fixtures to the walk-in tub. This includes attaching the drain assembly, overflow assembly (if applicable), and water supply lines. Ensure all connections are secure and properly sealed to prevent leaks.

07

Safety Features Installation

Install any safety features specific to the walk-in tub, such as grab bars, non-slip flooring, or built-in seating. These features are essential for providing stability and reducing the risk of falls or accidents.

08

Surrounding Wall and Floor Finishes

Install or repair the surrounding wall and floor finishes based on your preferences. This can involve tiling, applying waterproof wall panels, or using other suitable materials. Ensure proper sealing and water-resistant properties.

09

Testing and Finishing Touches

Fill the walk-in tub with water and test all its functions, such as the door seal, jets (if applicable), and safety features. Make any necessary adjustments or repairs. Finally, add any finishing touches such as trim, decorative elements, or accessories to complete the installation.

It's important to consult with professionals, such as plumbers and contractors, experienced in walk-in tub installations to ensure proper installation, adherence to building codes, and the safety of the senior using the tub.

Bathroom Designs

Explore a curated selection of elegant designs, innovative layouts, and exquisite fixtures that turn bathrooms into personal sanctuaries.

Midnight Rustic Style Bathroom 10x10

Concrete Traditional Style Bathroom 10x10

Ivory Smart Modern Style Bathroom 15x10

Crystal Victorian Style Bathroom 12x8

Arabescato Transitional Style Bathroom 22x10

Gris Rustico Scandavian Style Bathroom 15x20

Renovating is hard, we've got your back.

You're on your way to the easiest renovation ever

Contact Us

Interested? You may check below for our contact information if you have any inquiries about our services.

Address: Marietta, GA, United States

Email: trgremodeling@gmail.com

Phone Number: (404) 640-5076

Assistance Hours: Mon – Sat 9:00am – 5:00pm

Feel free to reach out by clicking the button below. You'll be directed to our contact page. We look forward to hearing from you!

Atlanta, GA, USA

Contact Us

Interested? You may check below for our contact information if you have any inquiries about our services.

Address: Marietta, GA, United States

Email: trgremodeling@gmail.com

Phone Number: (404) 640-5076

Assistance Hours: Mon – Sat 9:00am – 5:00pm

Feel free to reach out by clicking the button below. You'll be directed to our contact page. We look forward to hearing from you!

Marietta, GA, USA

TRG Bath Renovations

Seamless Style, Effortless Elegance, Unmatched Comfort.

Company

Services

Contact

Address

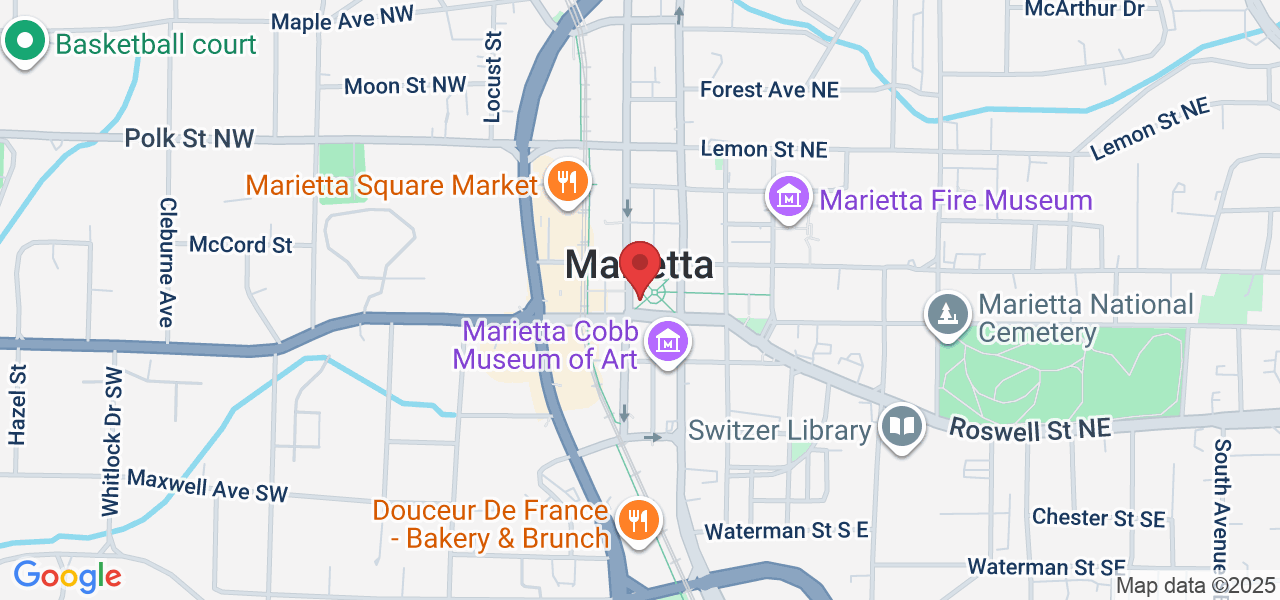
1584 Roswell Road, Suite 200, Marietta, GA 30062, United States

Phone Number

(404) 640-5076

Assistance Hours

Mon – Sat 9:00am – 5:00pm

Sunday – CLOSED

Copyright 2022 . All rights reserved