
Request a Free In-Home Consultation and Get 100% Financing Option With 0% Downpayment
We've Reimagined the Home Renovation Experience
Tub installation or replacement involves adding a new bathtub or replacing an existing one. Whether you are looking to upgrade to a newer model, change the style, or repair a damaged tub, here is a description of the process:
01 Assessing and Planning
Start by evaluating your needs and preferences for the new bathtub. Consider factors such as the size of the bathroom, the available space for the tub, your desired style, and any specific features you require, such as jets or a soaking tub. Measure the space to ensure the new tub will fit properly.
02 Removal of Existing Tub (if applicable)
If there is an existing bathtub that needs to be replaced, it will need to be removed. This typically involves disconnecting the plumbing fixtures, cutting or removing any surrounding tiles or wall panels, and physically extracting the bathtub from the bathroom.
03 Plumbing Modifications
Before installing the new tub, plumbing modifications may be necessary. This can include adjusting the drain position, rerouting water supply lines, and ensuring proper alignment with the new tub's plumbing connections.
04 Preparing the Area
Ensure that the area where the new tub will be installed is properly prepared. This may involve repairing or replacing any damaged subflooring or wall studs, addressing any plumbing or electrical issues, and applying waterproofing measures.
05 Tub Installation
Carefully place the new bathtub into the designated space. Ensure that it is level and properly aligned with the drain and plumbing connections. Depending on the type of tub, it may require securing to the wall studs.
06 Connections
Connect the plumbing fixtures to the new tub. This includes attaching the drain assembly, overflow assembly (if applicable), and water supply lines. Ensure proper sealing and tight connections to prevent leaks.
07 Surrounding Wall and Floor Finishes
Install or repair the surrounding wall and floor finishes. This can involve tiling, applying waterproof wall panels, or using other suitable materials. Properly seal all joints and edges to prevent water penetration.
08 Caulking and Sealing
Apply caulk or sealant around the perimeter of the tub where it meets the walls and floor. This helps create a watertight seal and prevents water damage.
09 Testing and Finishing Touches
Fill the tub with water and check for any leaks or issues. Make any necessary adjustments or repairs. Finally, add any finishing touches such as trim, decorative elements, or accessories to complete the installation.
DESIGNS
Explore designs, innovative layouts, and exquisite fixtures.
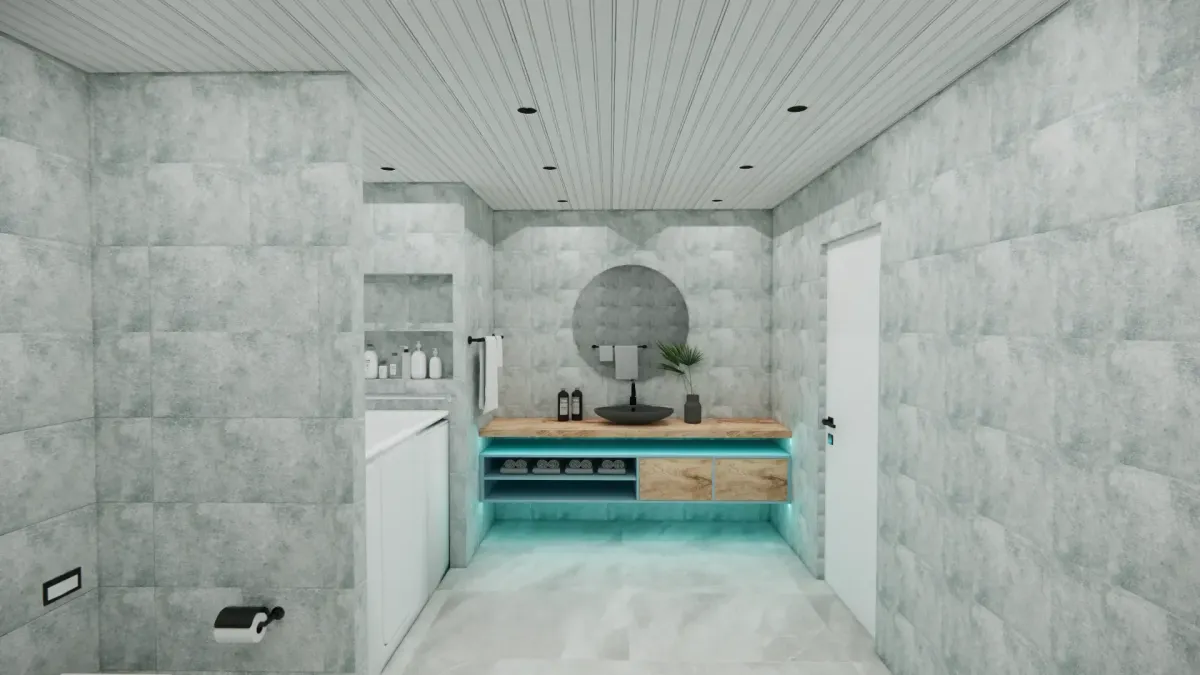
Adel Tegal Traditional Style Bathroom
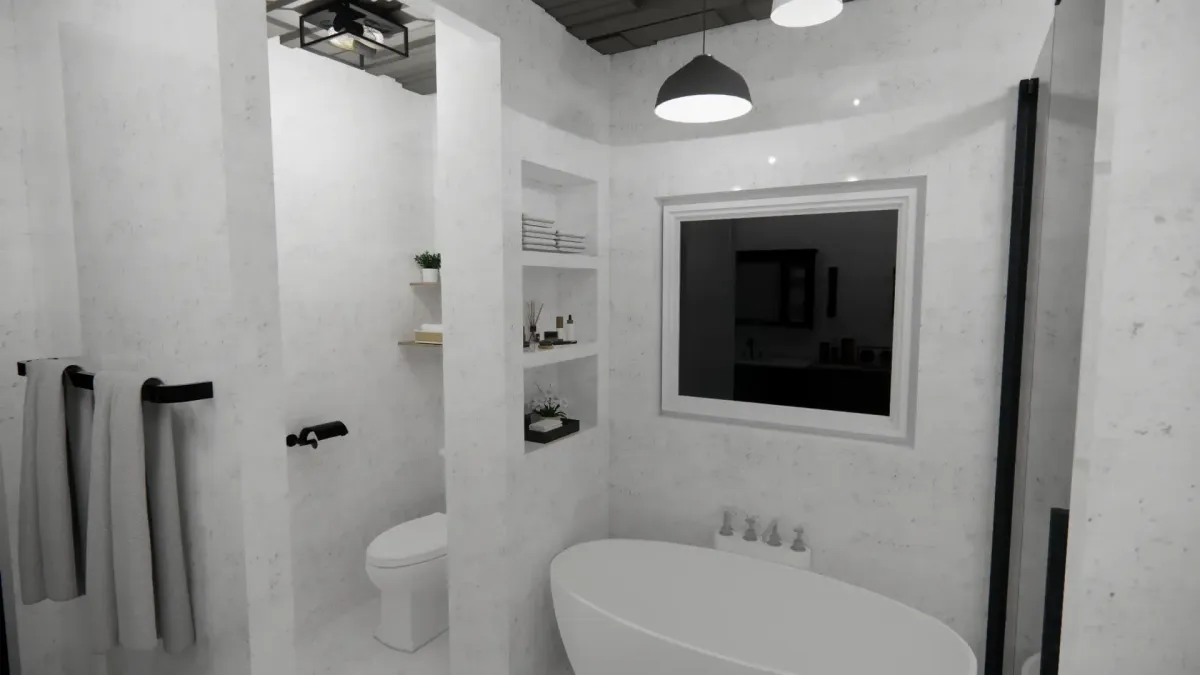
Concrete Traditional Style Bathroom
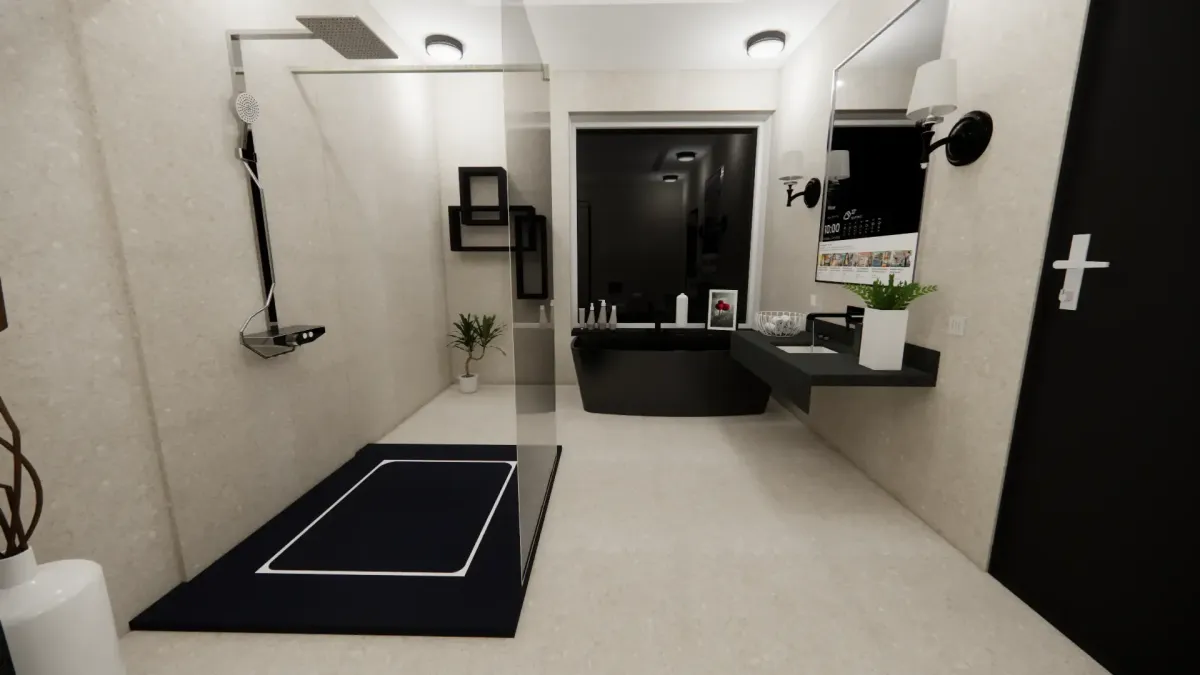
Ivory Smart Modern Style Bathroom
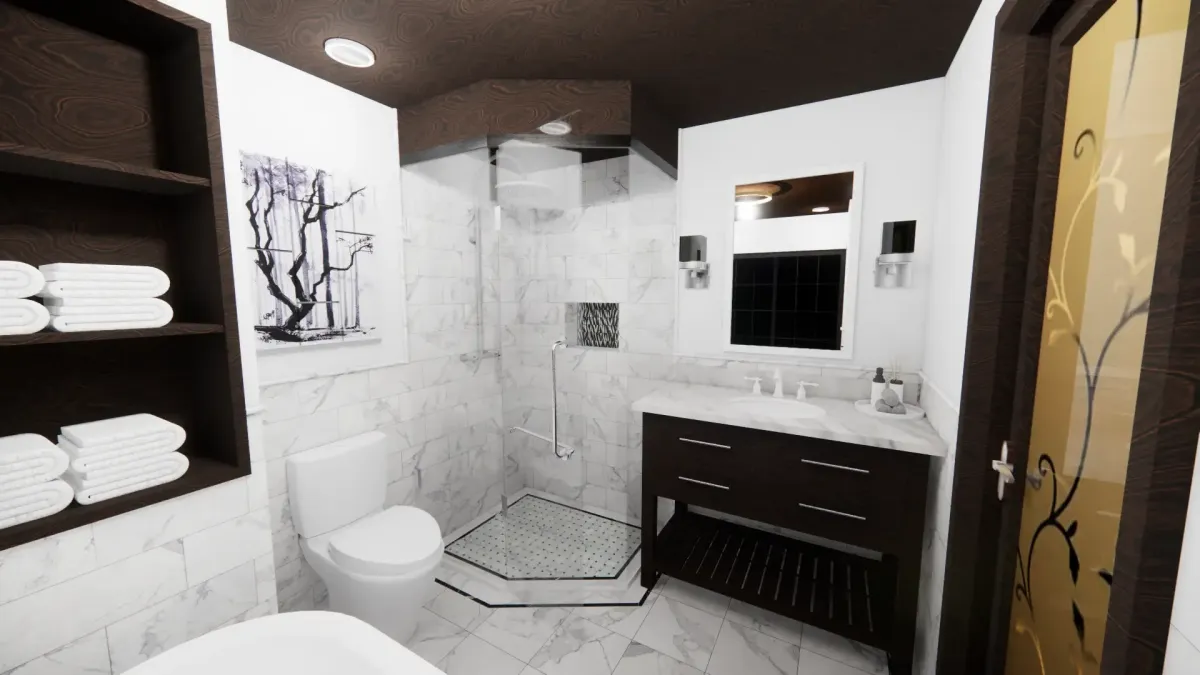
Crystal Victorian Style Bathroom
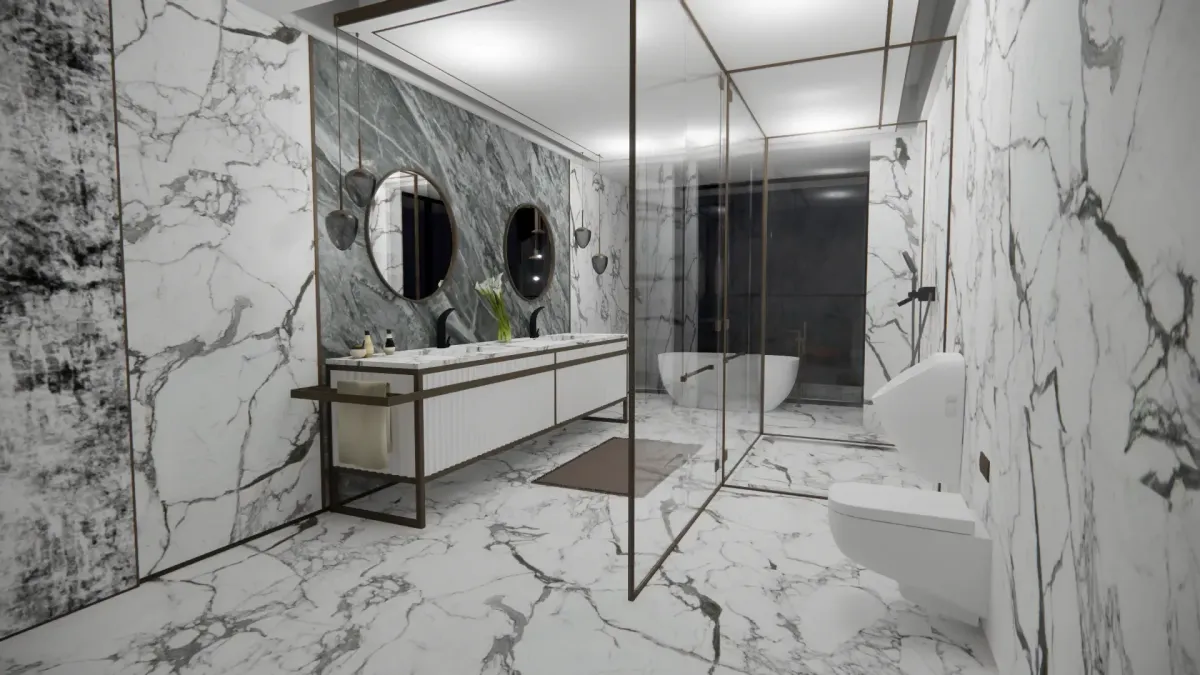
Arabescato Transitional Style Bathroom
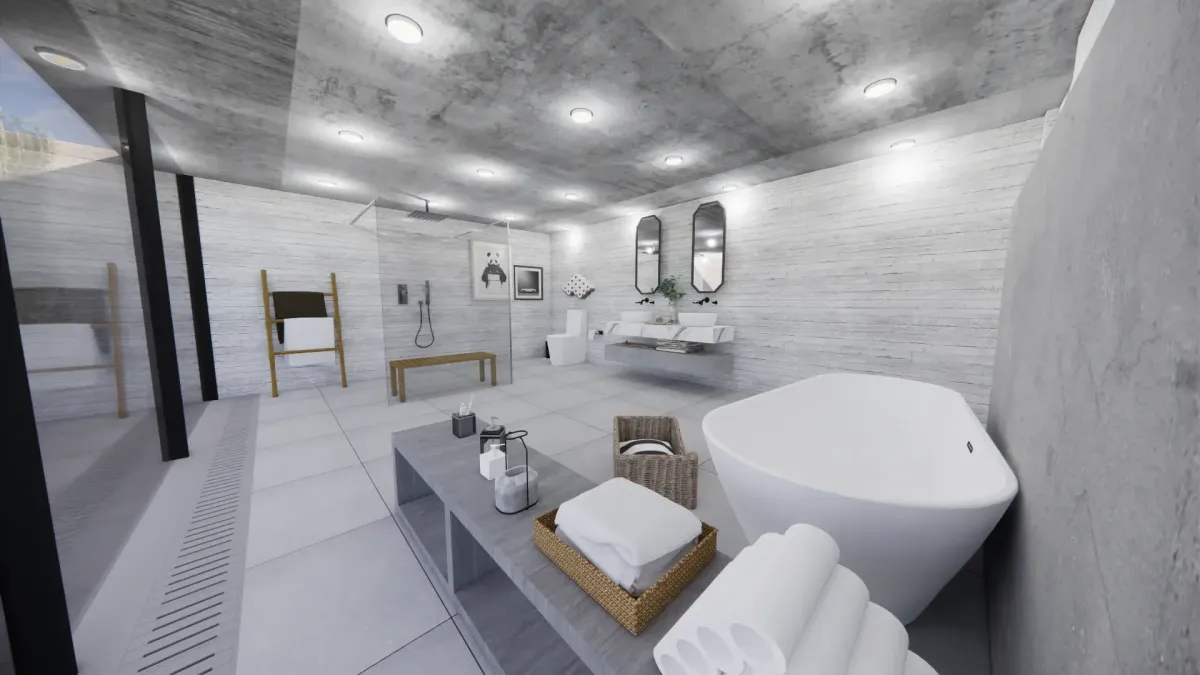
Gris Rustico Scandavian Style Bathroom
CERTIFICATIONS
Trusted and Accredited by Industry Experts




GET A QUOTE
Ready to turn your bathroom into the space you’ve always wanted? Fill out the form below, and we'll provide a personalized, no-obligation quote tailored to your needs and budget. Let’s make your dream bathroom a reality!


Seamless Style, Effortless Elegance, Unmatched Comfort.
© 2022. The Resource Group LLC—Bath Renovations
Company
Services
Contact
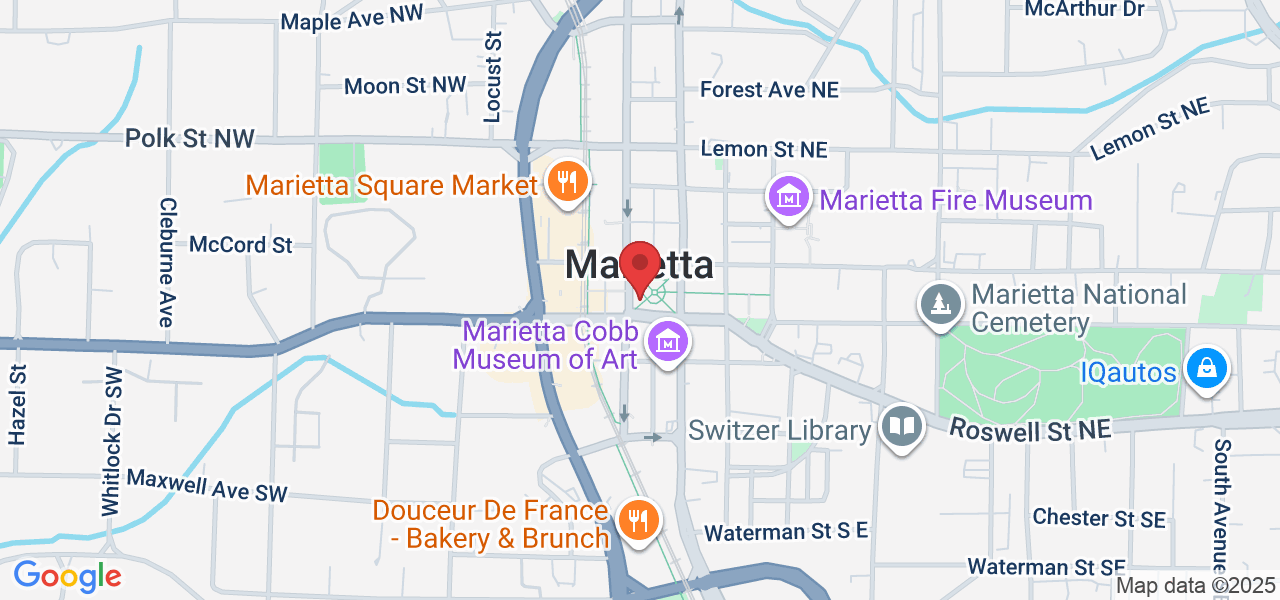
1584 Roswell Road, Suite 200, Marietta, GA 30062, United States
Mon – Sat. 9am – 5pm
